TreeBarkId
7 minute field guide
How to Map Tree Discoveries on a Walk
To map trees found on a walk, identify each specimen, confirm at least two visible traits, save the result with its location, and add a short note that distinguishes it from nearby trees. Use the same route and naming method on later visits. A map becomes most useful when it links a place to repeatable observations rather than collecting unverified pins.
By Fluxer Labs SL · Updated
Make each saved tree easy to find again
Use a repeatable record so that two nearby trees do not become one observation. Keep precise locations of private gardens or sensitive specimens out of public posts.
One specimen, one record
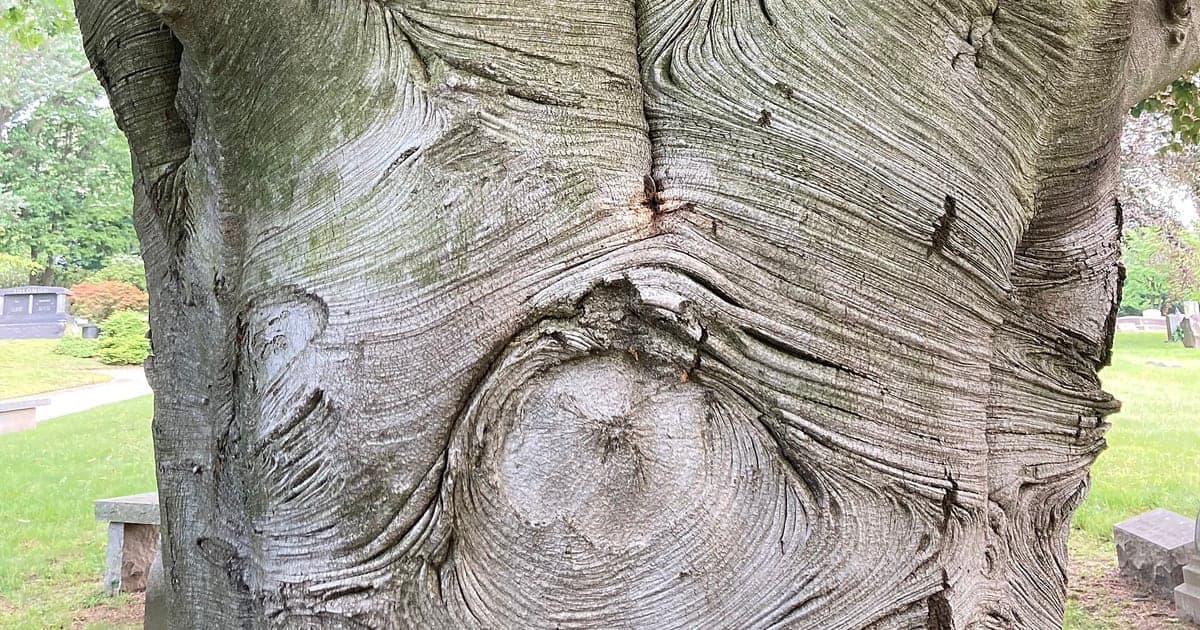
Choose a landmark visible from a public path. A photo of the whole trunk helps separate neighboring trees with similar bark.
Mark uncertainty in your notes
Keep the suggested name separate from the traits you actually observed. Confirm with a regional source or a knowledgeable local guide.
Return to the same view
Take comparable photos in another season. A collection becomes more useful when it documents changes on the same tree, not only new names.
Create a personal tree discovery map
Choose a repeatable route
Start with one park loop, street, campus, or garden where you can revisit the same trees.
Identify and confirm
Photograph the tree and verify two visible traits before saving the result.
Save the location
Allow location for the discovery and add a note that separates nearby specimens.
Return in another season
Revisit mapped trees to compare buds, flowers, fruit, leaves, color, and health changes.
Start with a route you can repeat
A small reliable map is more useful than a large set of uncertain points. Choose a park loop, a few neighborhood blocks, a campus path, or a garden. Decide where the walk begins and which direction you will travel. Repeating the route makes it easier to notice seasonal changes and correct an earlier identification.
Check local rules before recording trees on private property, school grounds, or sensitive habitat. Stay on permitted paths and avoid sharing precise locations for protected or vulnerable specimens. Your map can be a personal field journal without becoming a public inventory.
Confirm the identification before saving
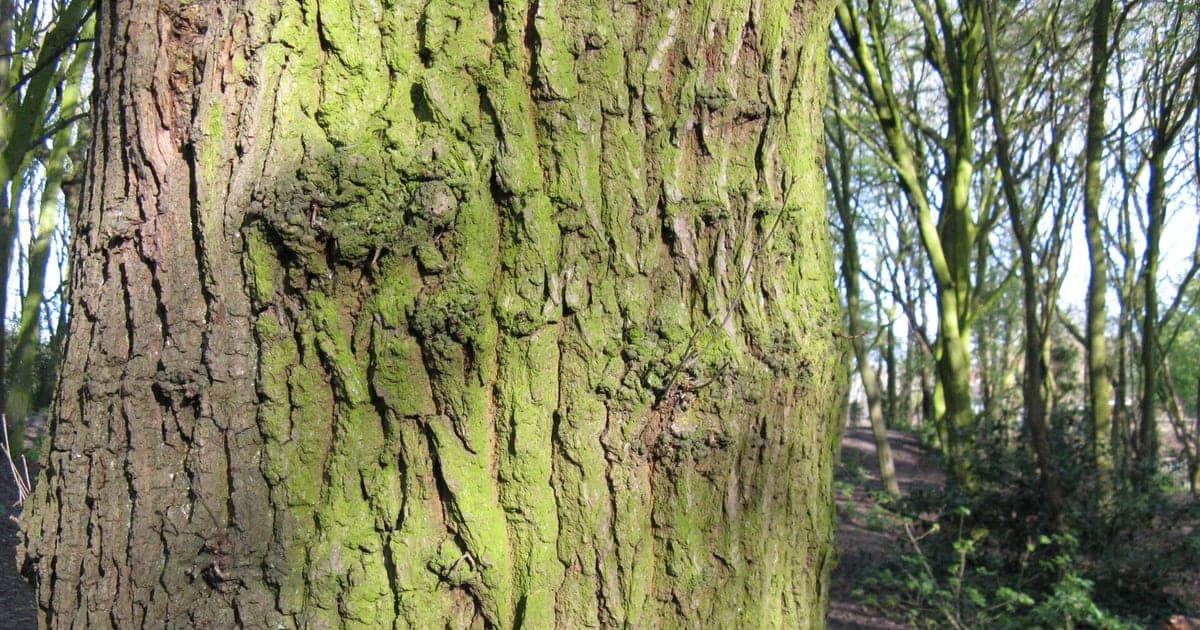
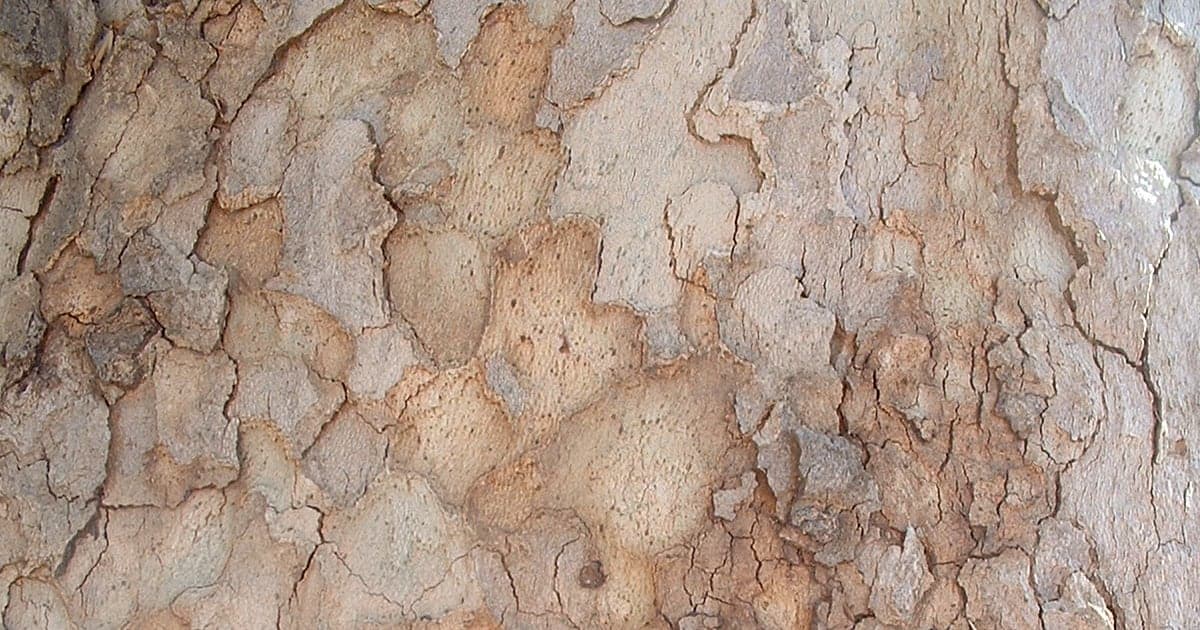
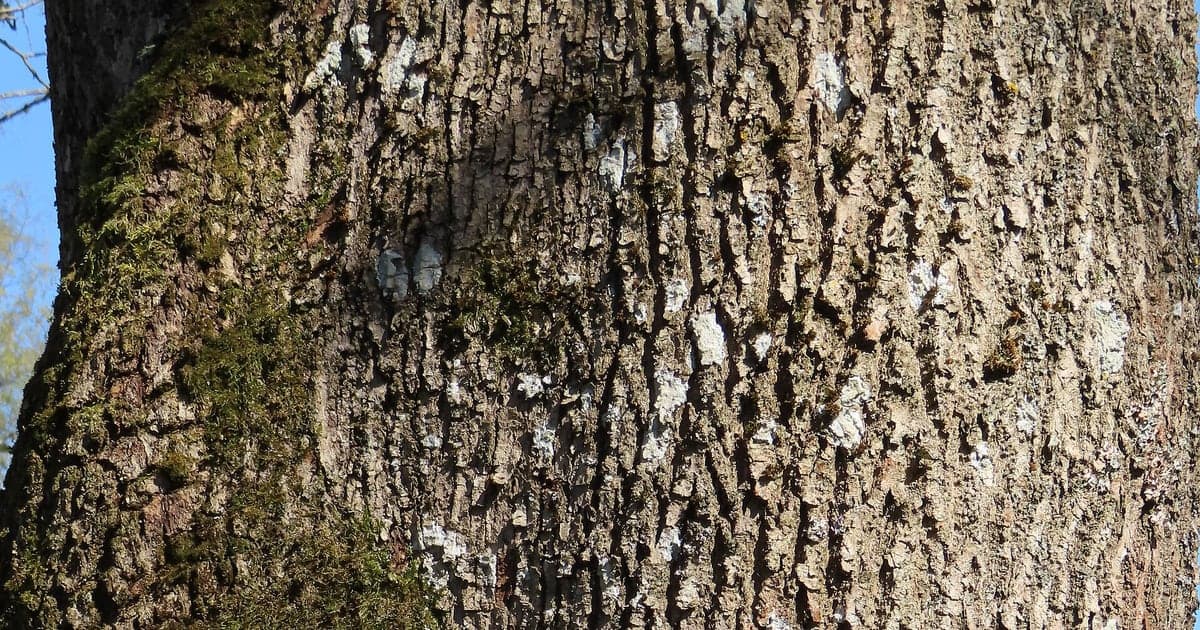
Take a whole-tree photo and one focused detail such as bark, leaves, needles, fruit, cones, or buds. Run the clearest image through TreeBarkId, then compare the suggested species with a second visible trait. Location supports the comparison, but planted trees may occur far from their native range.
If two similar trees stand together, add a note that separates them: north side of the path, beside the red bench, or second trunk after the gate. Avoid labels that depend on temporary objects. A brief stable landmark is enough to find the same specimen without storing unnecessary personal information.
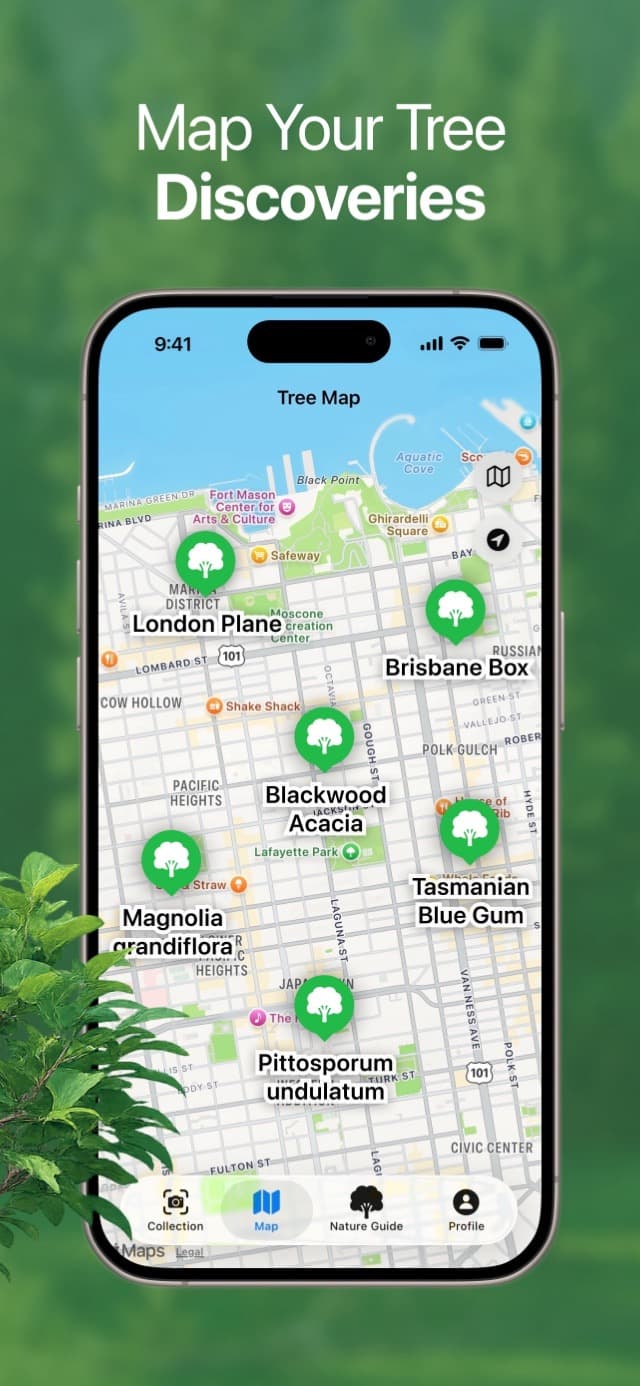
Use the Tree Map as a field journal
TreeBarkId saves discoveries and displays them on a map with species names. Review nearby pins before creating a new one so you do not mistake the same trunk for a separate observation. The map is especially helpful on streets and dense park paths where several common species repeat within a short distance.
Use consistent notes. Record the date, the strongest identifying traits, and anything worth checking later. A note such as smooth gray bark, opposite buds, west side of pond is easier to verify than beautiful tree. Do not include names, home details, or other personal information in a field note.
Revisit trees through the year
Return during bud break, flowering, fruiting, autumn color, and winter dormancy. A tree that was difficult to identify from bark may become clear when fruit or leaves appear. Seasonal photographs also show whether a health concern is stable, recovering, or expanding, although a phone record does not replace an arborist's assessment.
After several walks, group discoveries by route or purpose. You might track street trees, notable bark patterns, flowering dates, or trees used in a class project. The searchable Nature Guide helps compare saved observations with related species. A focused collection becomes a practical reference for future walks rather than a list of isolated names.
Keep the map useful as the collection grows
Review a saved point before adding another tree nearby. Dense parks and street rows can produce overlapping markers, so include a stable field clue such as the path side, nearest entrance, or position within a group. Avoid temporary references such as a parked car or movable sign. The note should help you return to the specimen without recording a person's name or private address.
Correct uncertain records instead of preserving every first guess. When a later visit reveals different fruit, buds, or leaves, compare the evidence and update your working identification. Mark a record as uncertain while the evidence remains mixed or incomplete. A smaller map of carefully checked field observations is more useful than a larger map of repeated or doubtful points. Export or share sensitive locations only when local rules and the purpose of the project make that appropriate.
Questions about this guide
Why map trees after identifying them?
A map lets you return to the same specimen, verify it in another season, compare nearby species, and maintain a useful personal field record.
Should every tree location be shared publicly?
No. Keep private-property details and sensitive species locations private. A personal map can support learning without exposing precise locations to others.