TreeBarkId
7 minute field guide
How to Identify a Tree from a Photo
To identify a tree from a photo, capture more than one visible clue: the whole tree, a focused leaf or needle, and a close view of the bark. A tree identifier app can compare those features with likely species, but the best result still comes from checking the location, season, and details shown in the match.
By Fluxer Labs SL · Updated
Which photo should you take next?
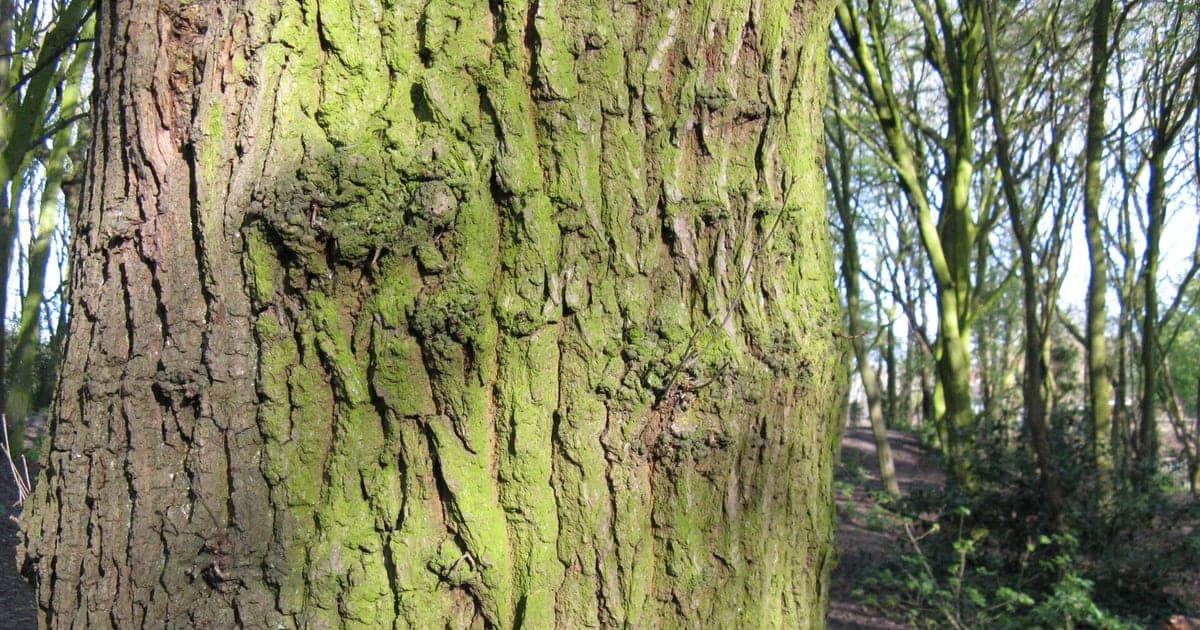
A useful second photo tests the first result. A bark close-up alone cannot show the leaf arrangement, fruit, or size of the tree.
The trunk is all you have
Add a reachable twig with its leaves or buds still attached. Photograph the attachment, not only a loose leaf on the ground.
The answer says maple
Look for paired leaves or buds along the twig. Opposite arrangement narrows the candidates, but does not identify the species by itself.
The range seems wrong
Check a local botanical guide. A street tree may be planted outside its native range; record that context before rejecting the match.
Identify a tree from photos
Photograph the whole tree
Step back and include the trunk, branching form, and canopy in one clear frame.
Capture a close detail
Take a sharp photo of bark, leaves, needles, flowers, fruit, or cones without using digital zoom.
Run the identification
Submit the clearest image and review the common name, scientific name, range, and visible traits.
Confirm the match
Compare at least two traits and the local habitat before saving the discovery.
Start with a useful set of tree photos
A distant canopy photo rarely contains enough detail on its own. Start with one frame that shows the tree from the base to the crown. This records its overall form, whether branches are upright or spreading, and how the trunk divides. If the tree is too large for one frame, move farther away instead of using a wide-angle view that bends the trunk near the edge.
Next, take a close photo of the feature that is easiest to reach. Leaves should be flat, in focus, and still attached to a twig when possible, because their arrangement can matter as much as their shape. For conifers, show how needles attach to the twig and whether they appear alone or in bundles. Include flowers, fruit, cones, thorns, or distinctive buds when they are present.
Photograph bark without losing texture
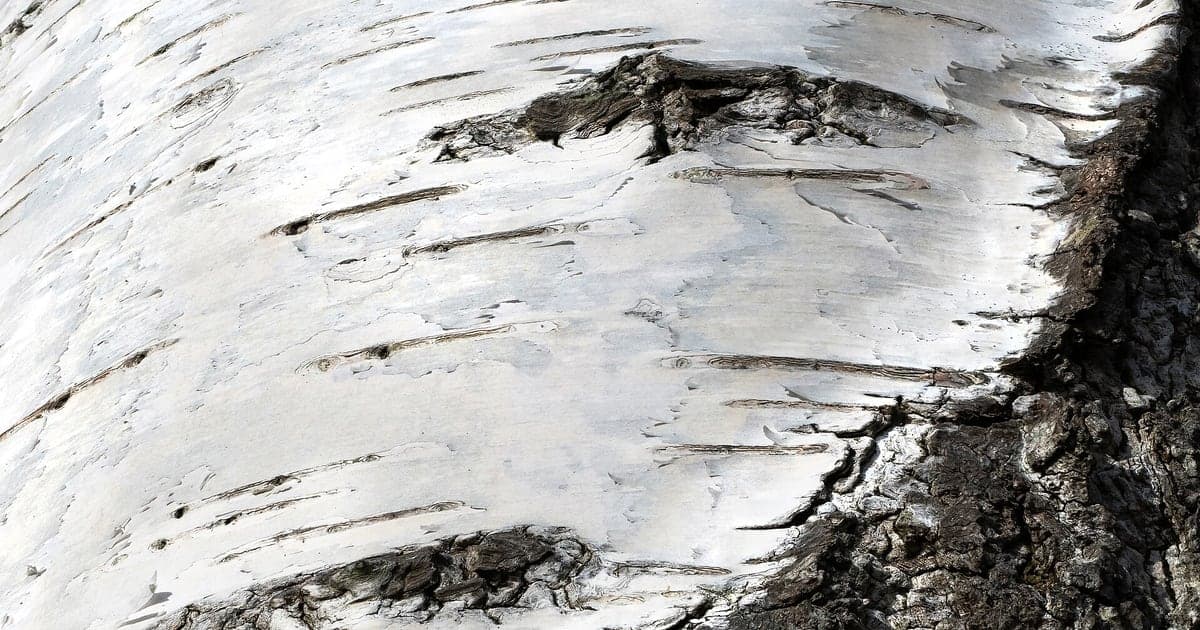
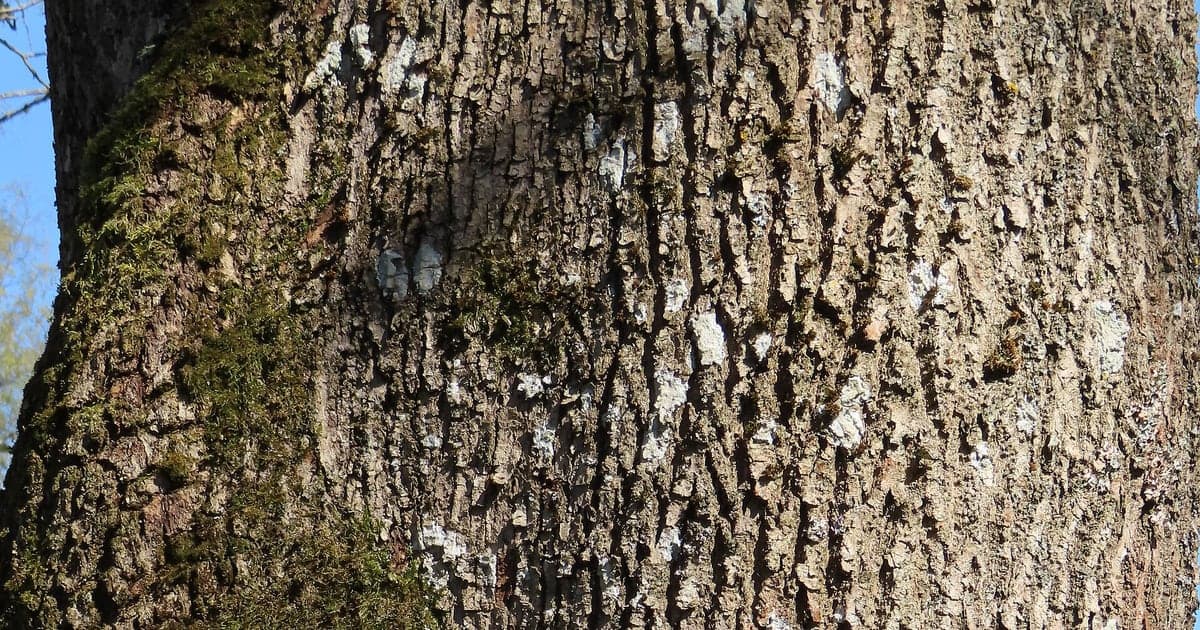
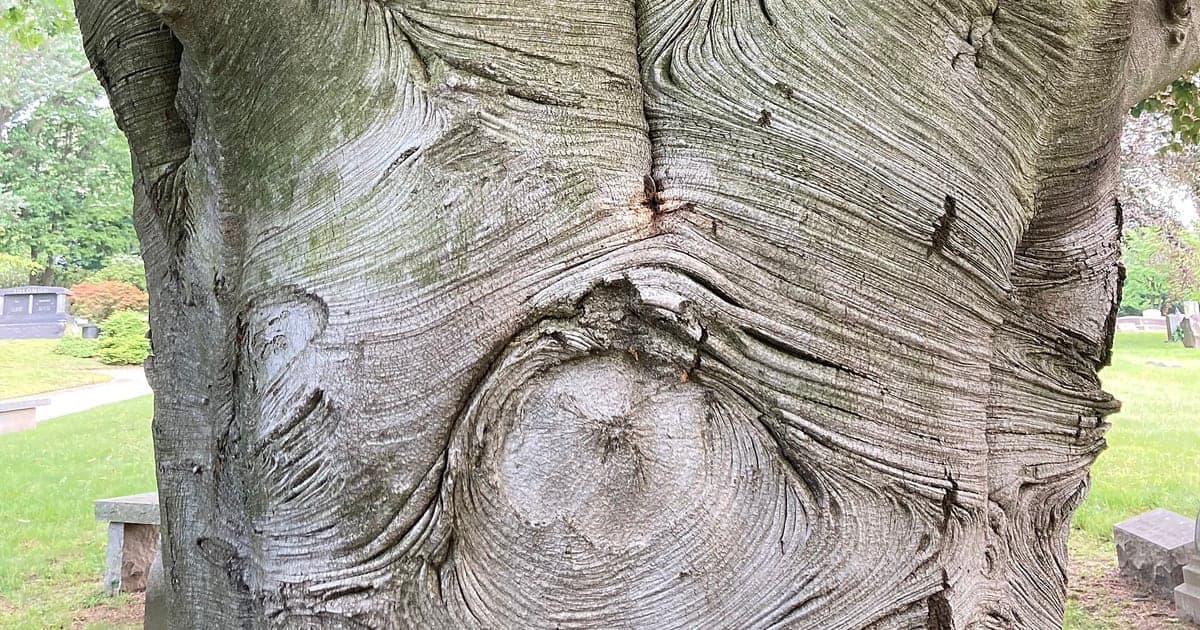
Stand square to the trunk and fill most of the frame with bark. Side lighting is helpful because shallow shadows reveal ridges, plates, lenticels, and peeling layers. Avoid flash at very close range; it can flatten texture and create a bright patch that hides color. A second bark photo from farther back shows whether a pattern continues up the trunk or changes near the base.
Bark changes as trees mature, so record the approximate trunk size and look at more than one section. A young branch may be smooth while the main trunk is deeply furrowed. Do not peel bark or cut into the tree for a photograph. The outer bark is protective tissue, and a clear surface image is enough for a photo-based comparison.
Use the app result as a shortlist
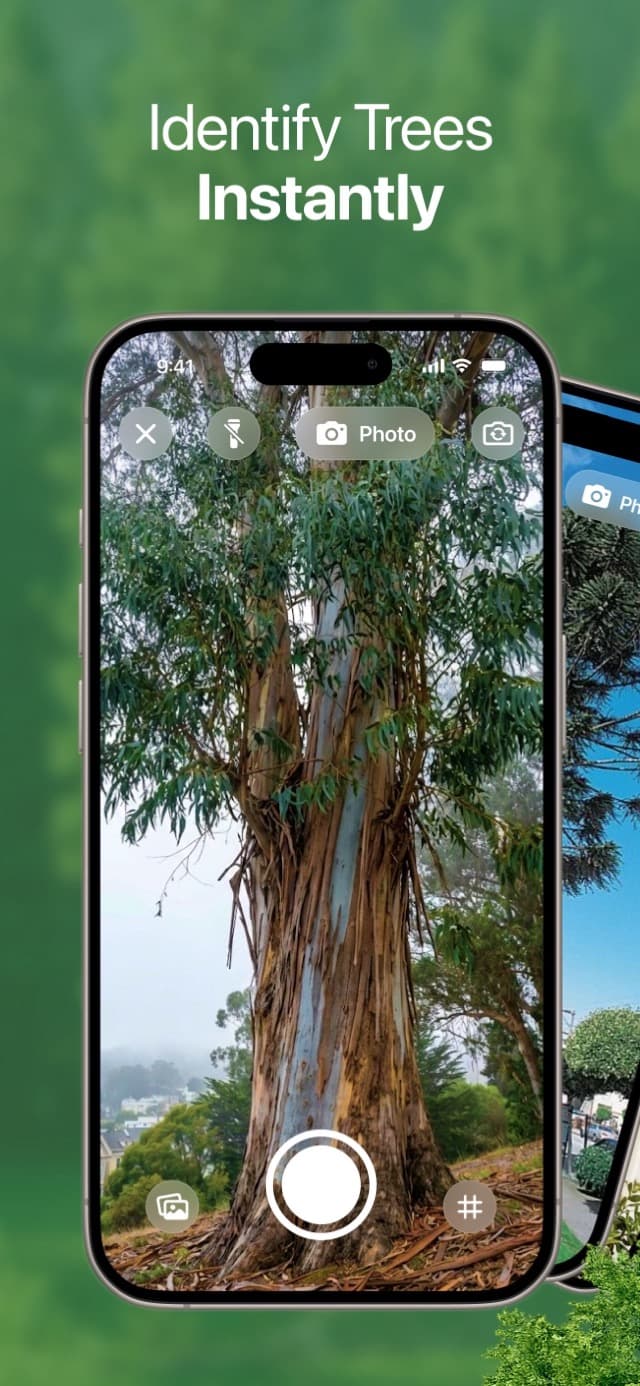
Open TreeBarkId and submit the clearest image first. The result provides a likely species with common and scientific names, family, habitat, characteristics, and health context. Treat that answer as a well-organized shortlist rather than proof from a single pixel pattern. Read which visible features support the result and compare them with the tree in front of you.
Check whether the stated native region or common range makes sense for your location, while remembering that planted street and garden trees can grow far outside a native range. Compare leaf arrangement, bark texture, fruit, and branching form. Two independent matches are much stronger than a name based on one leaf silhouette. If the evidence conflicts, photograph a second feature and try again.
Save a confirmed tree for later comparison
Once the traits line up, save the identification to your collection. A saved record is useful when the same tree changes through the year. You can return in another season to add a photo of flowers, autumn color, bare buds, or mature fruit. Those observations make future identifications in the same area faster and easier to check.
TreeBarkId also places saved discoveries on a map, which helps separate similar specimens found in different parks or streets. Location is practical context, not a substitute for visible traits. For anything involving safety, treatment, removal, or a protected species, ask a qualified local arborist or botanist to confirm the identification in person.
Retake the photo when the evidence conflicts
A result can be plausible and still be wrong. If the suggested species has opposite leaves but the tree clearly has alternate leaves, trust the visible contradiction and gather better evidence. Clean the camera lens, change the angle, and keep the main feature away from a busy background. A second image should add a different clue rather than repeat the same uncertain view.
Use the new result to compare, not to vote between two names. Look for one feature that one candidate should have and the other should not, such as paired buds, peeling strips, bundled needles, thorns, or a particular fruit. If neither result fits the tree, leave the record unconfirmed and return when another seasonal feature is visible.
Questions about this guide
What part of a tree is best to photograph for identification?
Use a clear leaf or needle photo when available, then add bark and a whole-tree view. Flowers, fruit, cones, buds, and twig arrangement can separate species that look similar in one image.
Can one photo identify a tree accurately?
One sharp photo can produce a useful match, but checking two or more traits is more reliable. Location, season, and the age of the bark also affect the comparison.